React Native Base
1. React native 프로젝트에 NativeBase 적용하기
기본 사용 조건
- Visual Studio Code
- Android Studio
- node.js
프로젝트를 만들 때는 expo를 사용하는 방법, native-cli를 사용하는 방법 2가지가 있다. 이번 글에서는 native-cli를 사용한 방법을 설명한다.
react-native cli 설치
npm install -g react-native-cli
프로젝트 생성
react-native init project_name
프로젝트 동작
cd project_name //생성한 프로젝트 폴더로 이동

react-native run-ios  // ios 일 때

react-native run-android // android 일 때
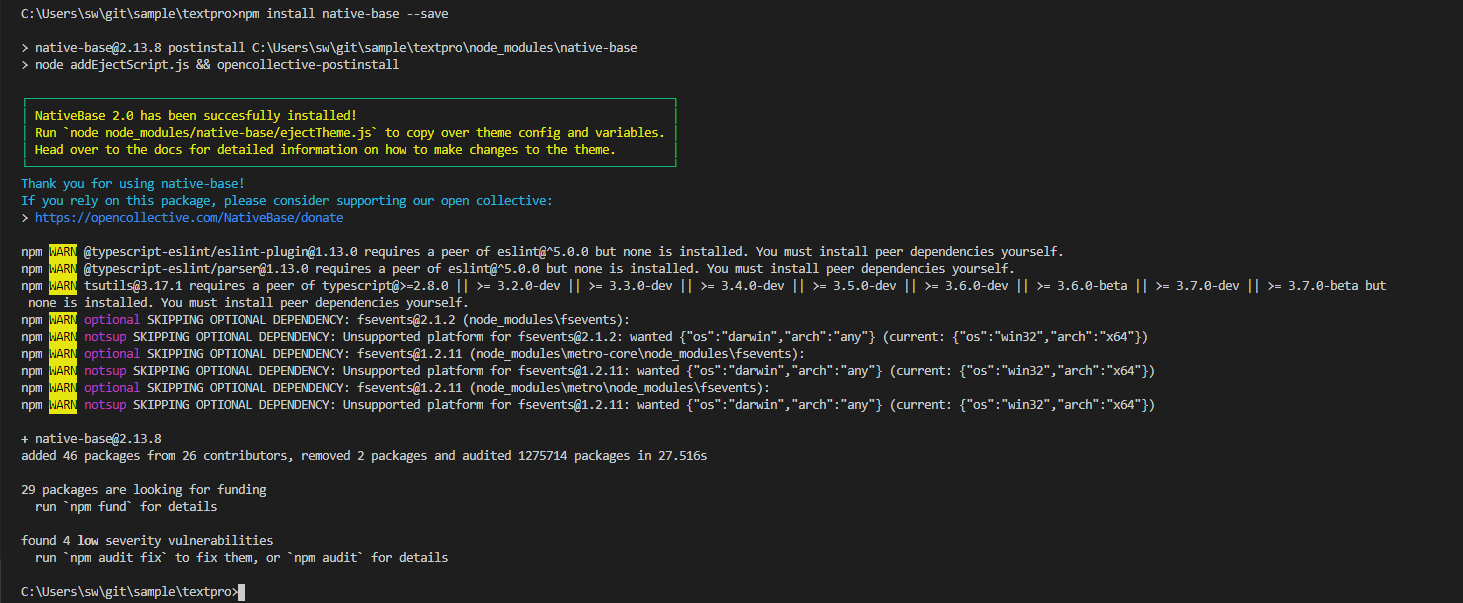
설치가 완료되면 위와 같은 메시지가 표시된다.
NativeBase 사용
import React, { Component } from 'react';
import { Container, Header, Content, Button, Text } from 'native-base';
export default class ButtonExample extends Component {
  render() {
    return (
      <Container>
        <Header />
        <Content>
          <Button>
            <Text>Click Me!</Text>
          </Button>
        </Content>
      </Container>
    );
  }
}
기본 사용방식은 <Container> 안에 <Header>, <Content> 를 넣어 사용한다
자세한 사용방법은 아래 공식 홈페이지에 설명되어 있다. https://docs.nativebase.io/Components.html#button-def-headref
개발환경 설정에 유용한 라이브러리
- React-Native 프로젝트 공식 사이트
- NativeBase NativeBase UI 프레임워크 공식 사이트
- reactnavigation react-native 페이지이동 라이브러리
- vector-icons 무료지원 아이콘 라이브러리