Google Map API React에서 사용하기 (2)
1. 구글 맵 언어 설정
node_modules/google-maps-react/dist/GoogleApiComponent.js 내부의 defaultCreateCache에서 Language값 설정 가능합니다.
  var language = options.language || 'ko';
  //en은 영어입니다.
2. 마커의 배열 나눠 출력
확대의 줌 값이 바뀔때마다 감지하여,
출력할 배열을 바꿔서 출력이 가능합니다.
기존에 썼던 마커를 그려 렌더링 해주는 함수를 활용해보면,
  displayMarkers = (i) => {
    if (i<=9) {
      return this.state.list5.map((store, index) => {
        return (
          <Marker
            key={index}
            icon={"/images/logo192.png"}
            position=
            // visible = {this.state.zoomIndex < 15 ? false : true}
            onClick={() => this.visibleInfoWindow(index)}
          />
        );
      });
    } else if (i<=11) {
      return this.state.list4.map((store, index) => {
        return (
          <Marker
            key={index}
            position=
            // visible = {this.state.zoomIndex < 15 ? false : true}
            onClick={() => this.visibleInfoWindow(index)}
          />
        );
      });
    }
이런식으로 i값을 zoom 값으로 받아온 후,
index에 따라 다른 배열을 뿌려주어
확대에 따라 보여주는 마커 배열을 바꿀 수 있습니다.
3. 마커 이미지 변경
다음으론 마커의 아이콘를 변경하는 속성인
icon에 대해 알아보겠습니다.
  <Marker
    key={index}
    icon={"https://developers.google.com/maps/documentation/javascript/images/custom-marker.png"}
    position=
    onClick={() => this.visibleInfoWindow(index)}
  />
이런식으로 마커의 icon에 해당하는 이미지 src를 넣어주면
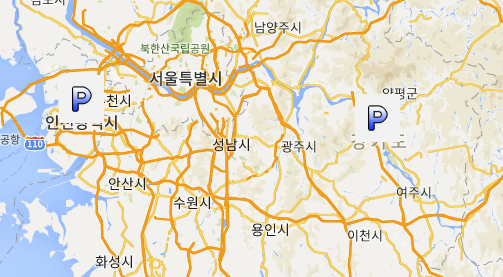
다음과 같이 출력됩니다.
