Nginx + Tomcat8 연동
지난 시간에는 nginx 에 let’s encrypt 를 이용하여 무료 SSL 인증서를 적용해 보았다. 이번 시간에는 SSL 인증서로 https 접속이 가능해진 nginx 에 톰캣을 연결해 보도록 할 것이다.
nginx 설치 방법은 Letsencrypt + Nginx SSL인증서(HTTPS) 적용 포스팅에서 nginx 설치 부분을 참고
환경
- Ubuntu 18.04
- apt-get 을 통해 설치한 Nginx
Nginx 와 Tomcat 연동
(톰캣이 설치&실행 되어 있다는 가정 하에 진행)
Nginx 의 설정 파일을 수정 ( 여기서는 /etc/nginx/site-available/default 파일을 수정)
$ vim /etc/nginx/site-available/default
server 블록 상단에 톰캣 서버에 대한 경로를 지정해 준 뒤 server 블록 내부에 location 설정 부분 수정 - 80포트와 443 포트에 대해 톰캣으로 연결되도록 설정을 수정한다.
...
# 톰캣 위치를 지정
upstream tomcat {
	ip_hash;
	server 127.0.0.1:8080;
}

# 80 포트에 대한 설정
server {
        listen 80;
        listen [::]:80;
        root /var/www/html;

        # Add index.php to the list if you are using PHP
        index index.html index.htm index.nginx-debian.html;

        server_name _;
        charset utf-8;

        location / {
                # First attempt to serve request as file, then
                # as directory, then fall back to displaying a 404.
                # try_files $uri $uri/ =404;  // css 가 로드되지 않을수 있으므로 주석처리
                # proxy 설정 추가
                proxy_pass http://tomcat; //tomcat 서버 지정
                proxy_set_header X-Real-IP $remote_addr;
                proxy_set_header X-Forwarded-For $proxy_add_x_forwarded_for;
                proxy_set_header Host $http_host;
   		}
 }
 ... 중략

 # 443 포트에 대한 설정
 server {
        listen 443;
        listen [::]:443;
        ssl on;
        server_name _;

        ssl_certificate /etc/letsencrypt/live/8e7dcf95.ngrok.io/fullchain.pem;
        ssl_certificate_key /etc/letsencrypt/live/8e7dcf95.ngrok.io/privkey.pem;

        location / {
                # First attempt to serve request as file, then
                # as directory, then fall back to displaying a 404.
                # try_files $uri $uri/ =404;  // css 가 로드되지 않을수 있으므로 주석처리
                # proxy 설정 추가
                proxy_pass http://tomcat;
                proxy_set_header X-Real-IP $remote_addr;
                proxy_set_header X-Forwarded-For $proxy_add_x_forwarded_for;
                proxy_set_header Host $http_host;
        }
}
default 파일 내 location 설정 안에
proxy_pass http://tomcat;
proxy_set_header X-Real-IP $remote_addr;
proxy_set_header X-Forwarded-For $proxy_add_x_forwarded_for;
proxy_set_header Host $http_host;
이 구문을 추가하면 된다.
파일을 저장한 뒤 nginx service 재시작
$ service nginx restart
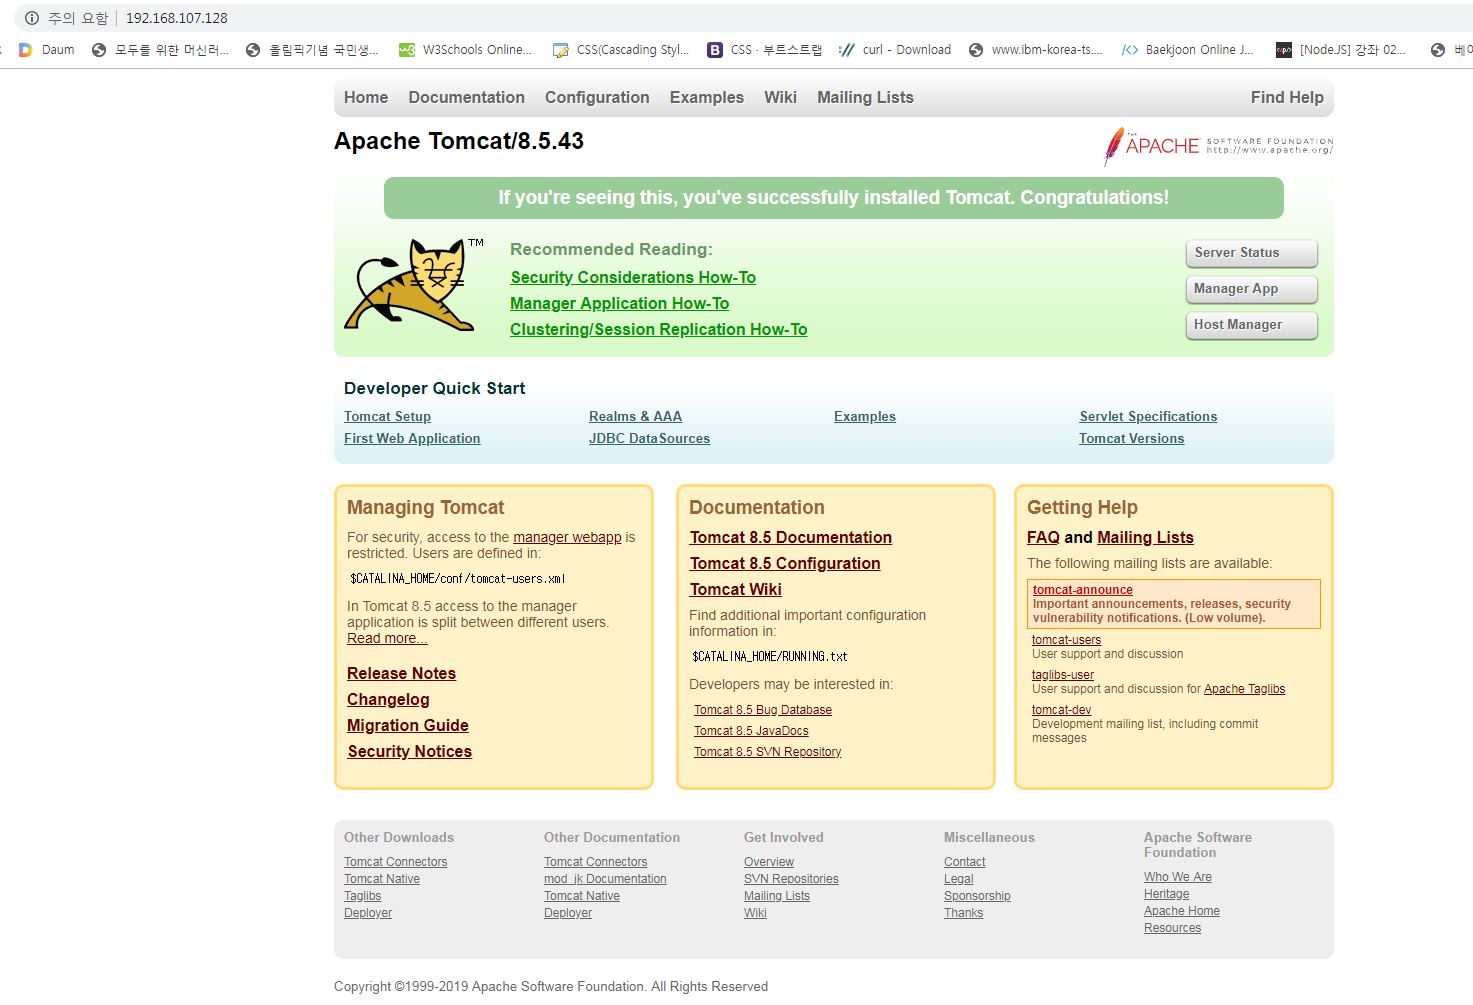
다시 서버 ip로 접속시에 기존 nginx 페이지가 아닌 톰캣 서버 index 페이지가 나타나는 것을 확인 할 수 있을 것이다. (http, https 둘다 접속시도 해보자)
http 접속
https 접속
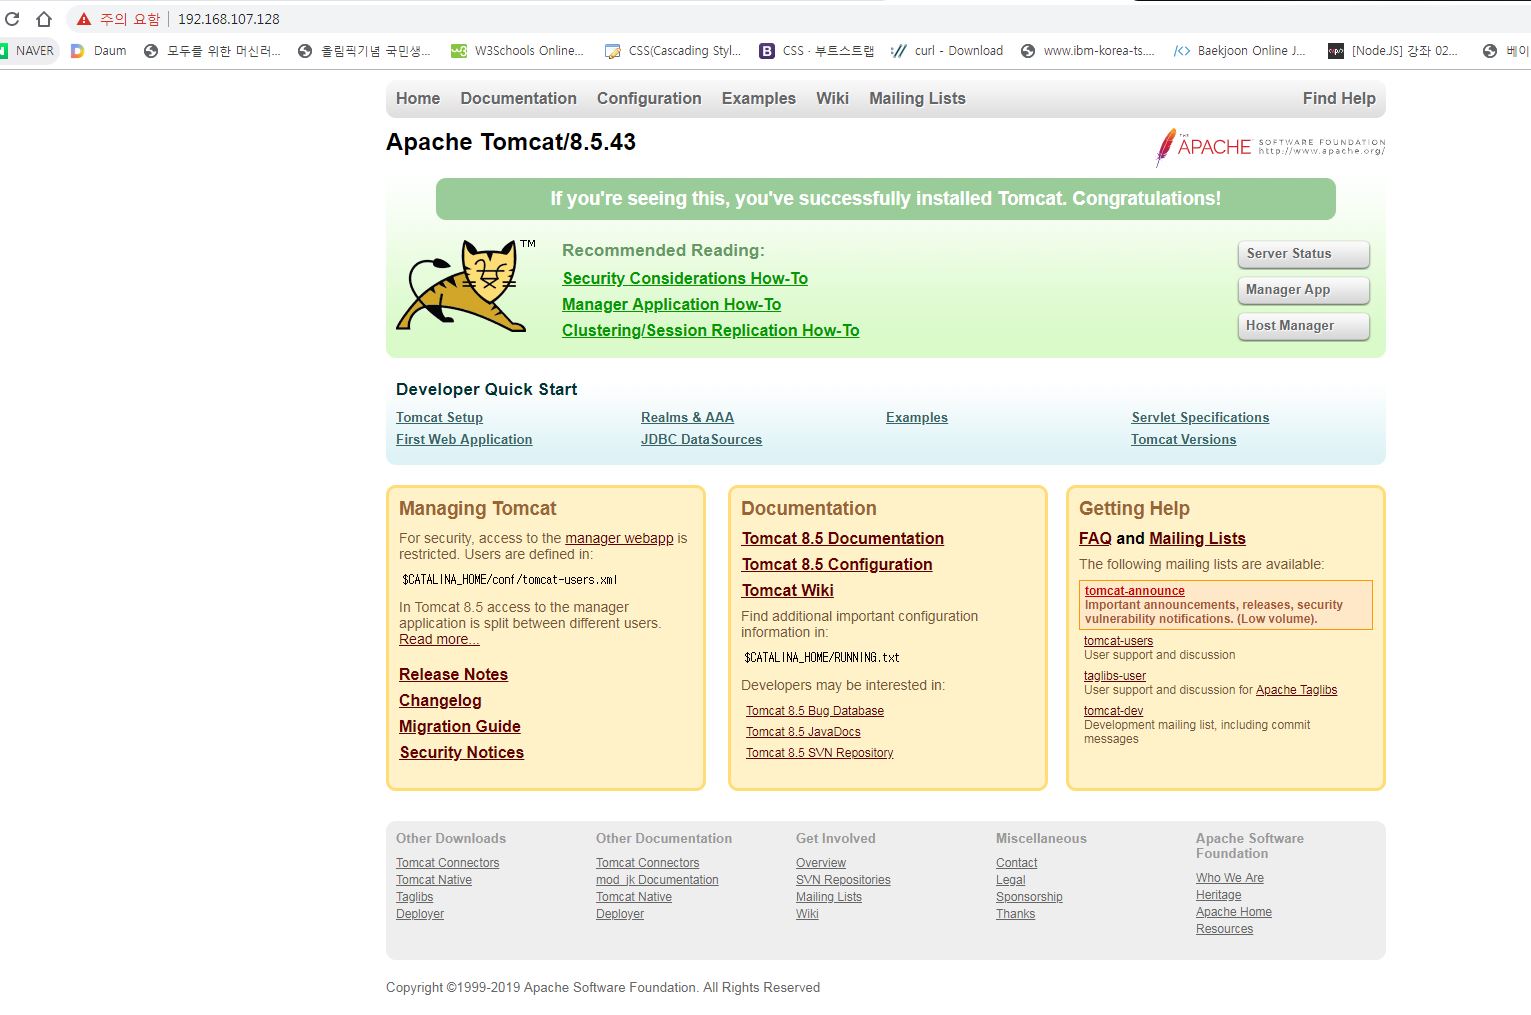
※ 상단 바 주의 요함부분을 클릭해보면 인증서가 적용되어 있을 것이다.
서버 재시작후 웹 브라우저에서 접속을 실행하면 500번대 에러가 날 수 있다. 이럴땐 톰캣 서버가 활성화 되어 있는지 확인해 본 뒤 다시 접속을 해보자